
Homemade Wooden Birth Facts Sign
I absolutely love a project that includes some solid re purposing. I am very fortunate and have access to scrap supplies that with a little trial, error, and innovation – I have discovered I can make some pretty cool stuff within my own backyard. Below is my best first attempt at a step-by-step for a handcrafted birth facts sign with an inset frame that I made for my girlfriend’s sweet daughter.
Picking the color scheme is an important first step, especially if you are going to be layering. For instance here, the grey letting is the bottom paint on the boards and built up from there. Ideally, I like to have 2-3 colors to give a variety to the look. I was able to go with her nursery colors for this one.
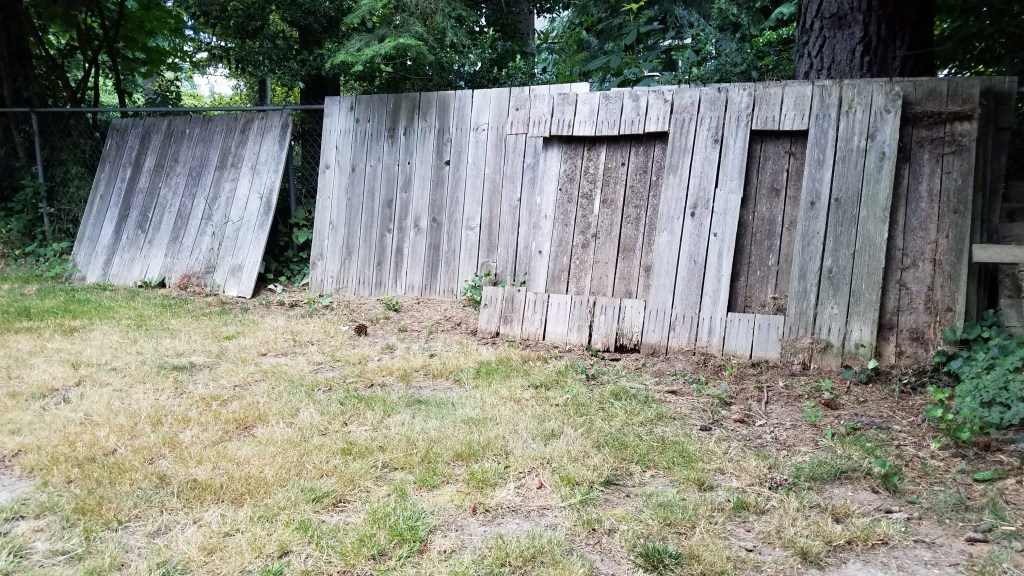
As you can see, our beginning place is an old fence. Like I said, I love re purposing so, not having to spend the money on the materials is an awesome start to the project. We live across the street from a fencing company that leaves out scraps or tear-down projects out in a free pile – check around your community to see if you have this kind of opportunity, too! This is in our backyard so, I was able to use an outdoor plug and a sawzaw and find the best pieces I could. Made them extra long and grabbed a few extra, just in case.
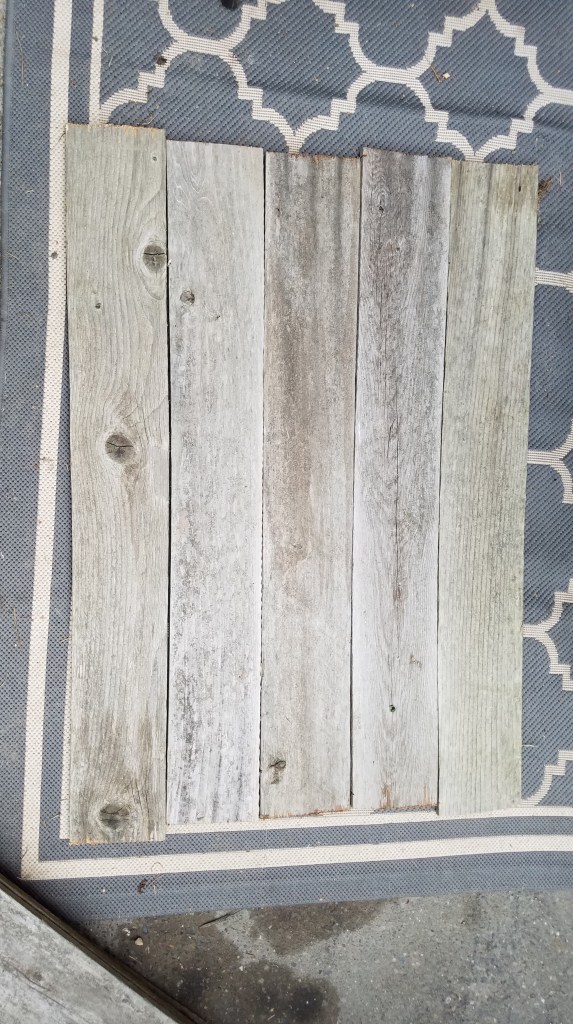
I highly enjoy highlighting the character of the wood so I find it helpful to play around with the different layout possibilities of how they piece together, show the knots, grain, etc. Things will be cut down to size and sanded so, don’t worry about spending too much time on this step.
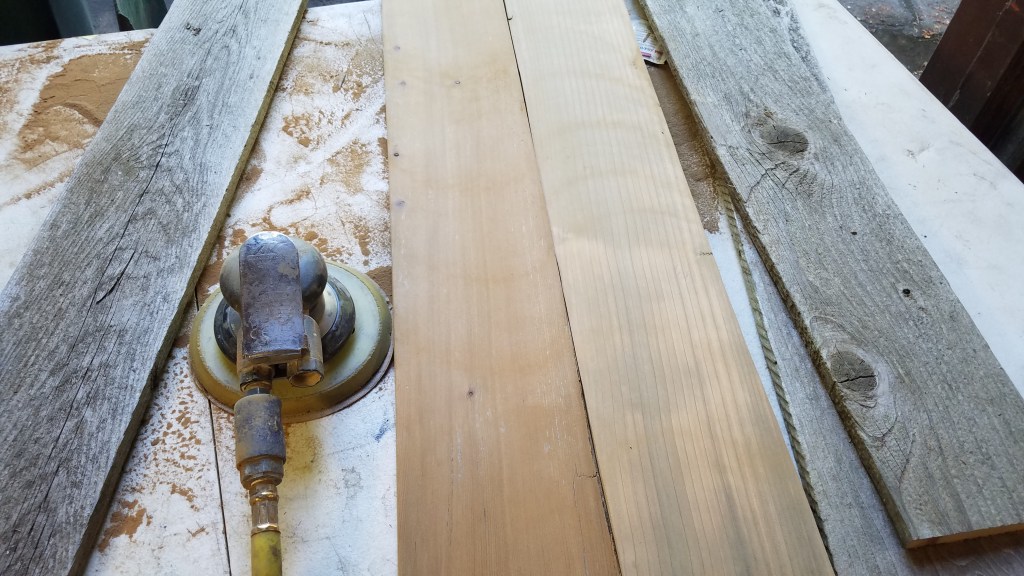
The next step is sanding. Depending on what you want the wood to look like, you can either do some light sanding to keep more of a ‘weathered’ look, but for this project I knew I was going to be painting the base so I sanded down to the clean wood. We have an air compressor set up in our garage for auto work so I am able to have my own hose hooked up for a DA sander, but an electric one will also work great. I started with 80 grit sand paper to knock of the wear, and then went back over the front surfaces with 120 grit sand paper to prepare for paint.

Up next is gluing our boards together. You will need to finalize your layout, which side of the boards to use, and where the top and bottom will be. I laid them out on the table and then evenly spaced the wood clamps. Each board has a thin line of wood glue in between each (my favorite brand to use is Gorilla Glue) and then clamped while it dries. We went with 4 large size clamps – 2 on the bottom outside, 2 on the top towards the middle. Since these boards were a little warped from age, we did our best to attach and straight up them up. Once everything was tightened up, we laid a nice and heavy tool box on the middle clamps and let it dry and sit overnight. Sidenote: on this trial we used a pretty heavy toolbox to hold down the boards and it left some marks on the wood. Next time, we will put a towel or matting in place to help with the weight.
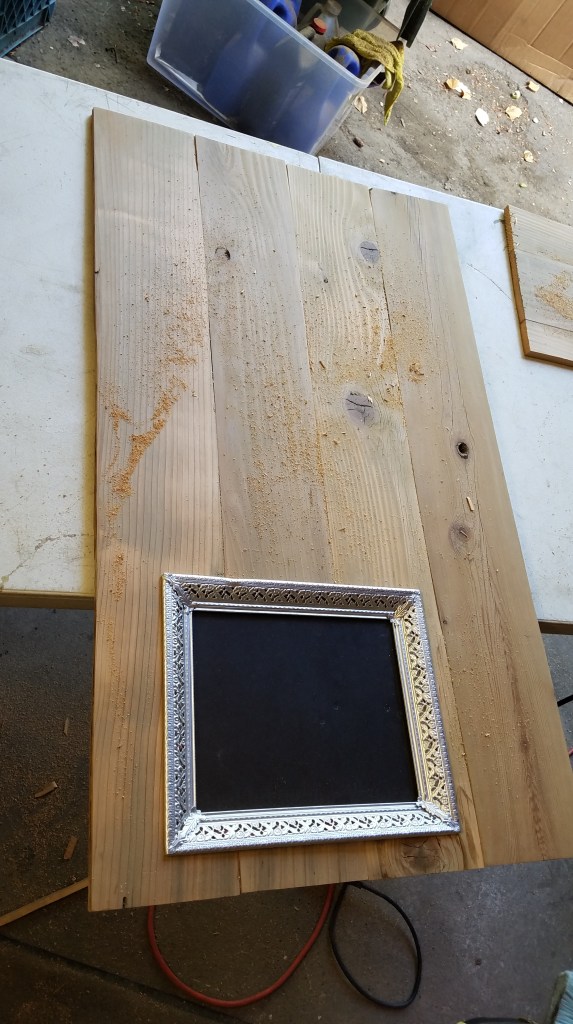
Once everything is glued together, we are able to sand the front surface to create a flat surface on the front. We also used our sawzaw to straighten out the edges. Next was cutting the hole for the frame. It is important to find a frame that has the picture hole set back a little to ensure once it is mounted, you are still able to change to picture out. I found one at Goodwill and was able to repaint the frame to match the color scheme. We measured the outside of the frame and then measured our lines to cut ¼” smaller to have a surface to mount the frame too. We used 4 small ¼” wood screws straight through the front to attach the frame to the wood.
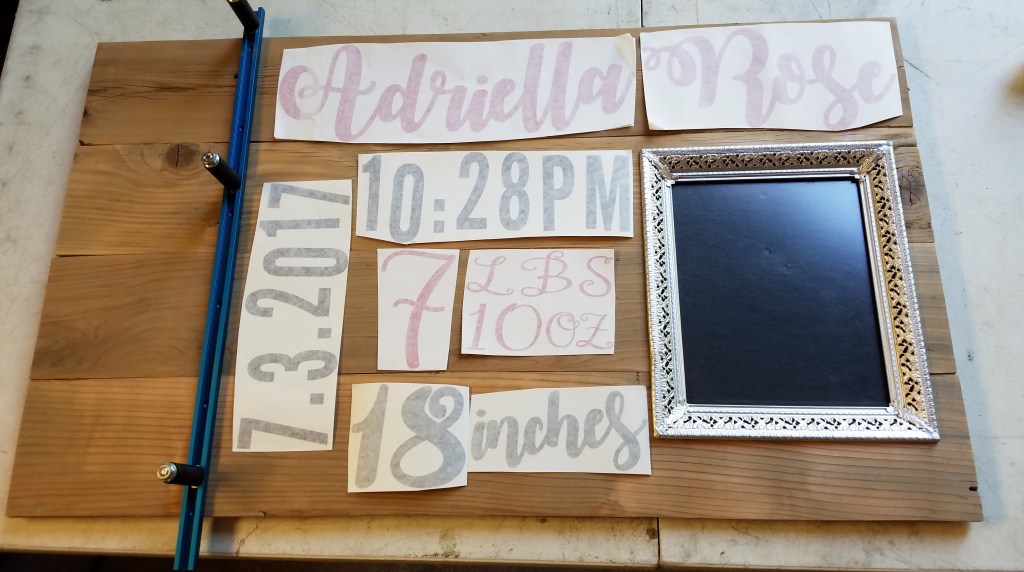
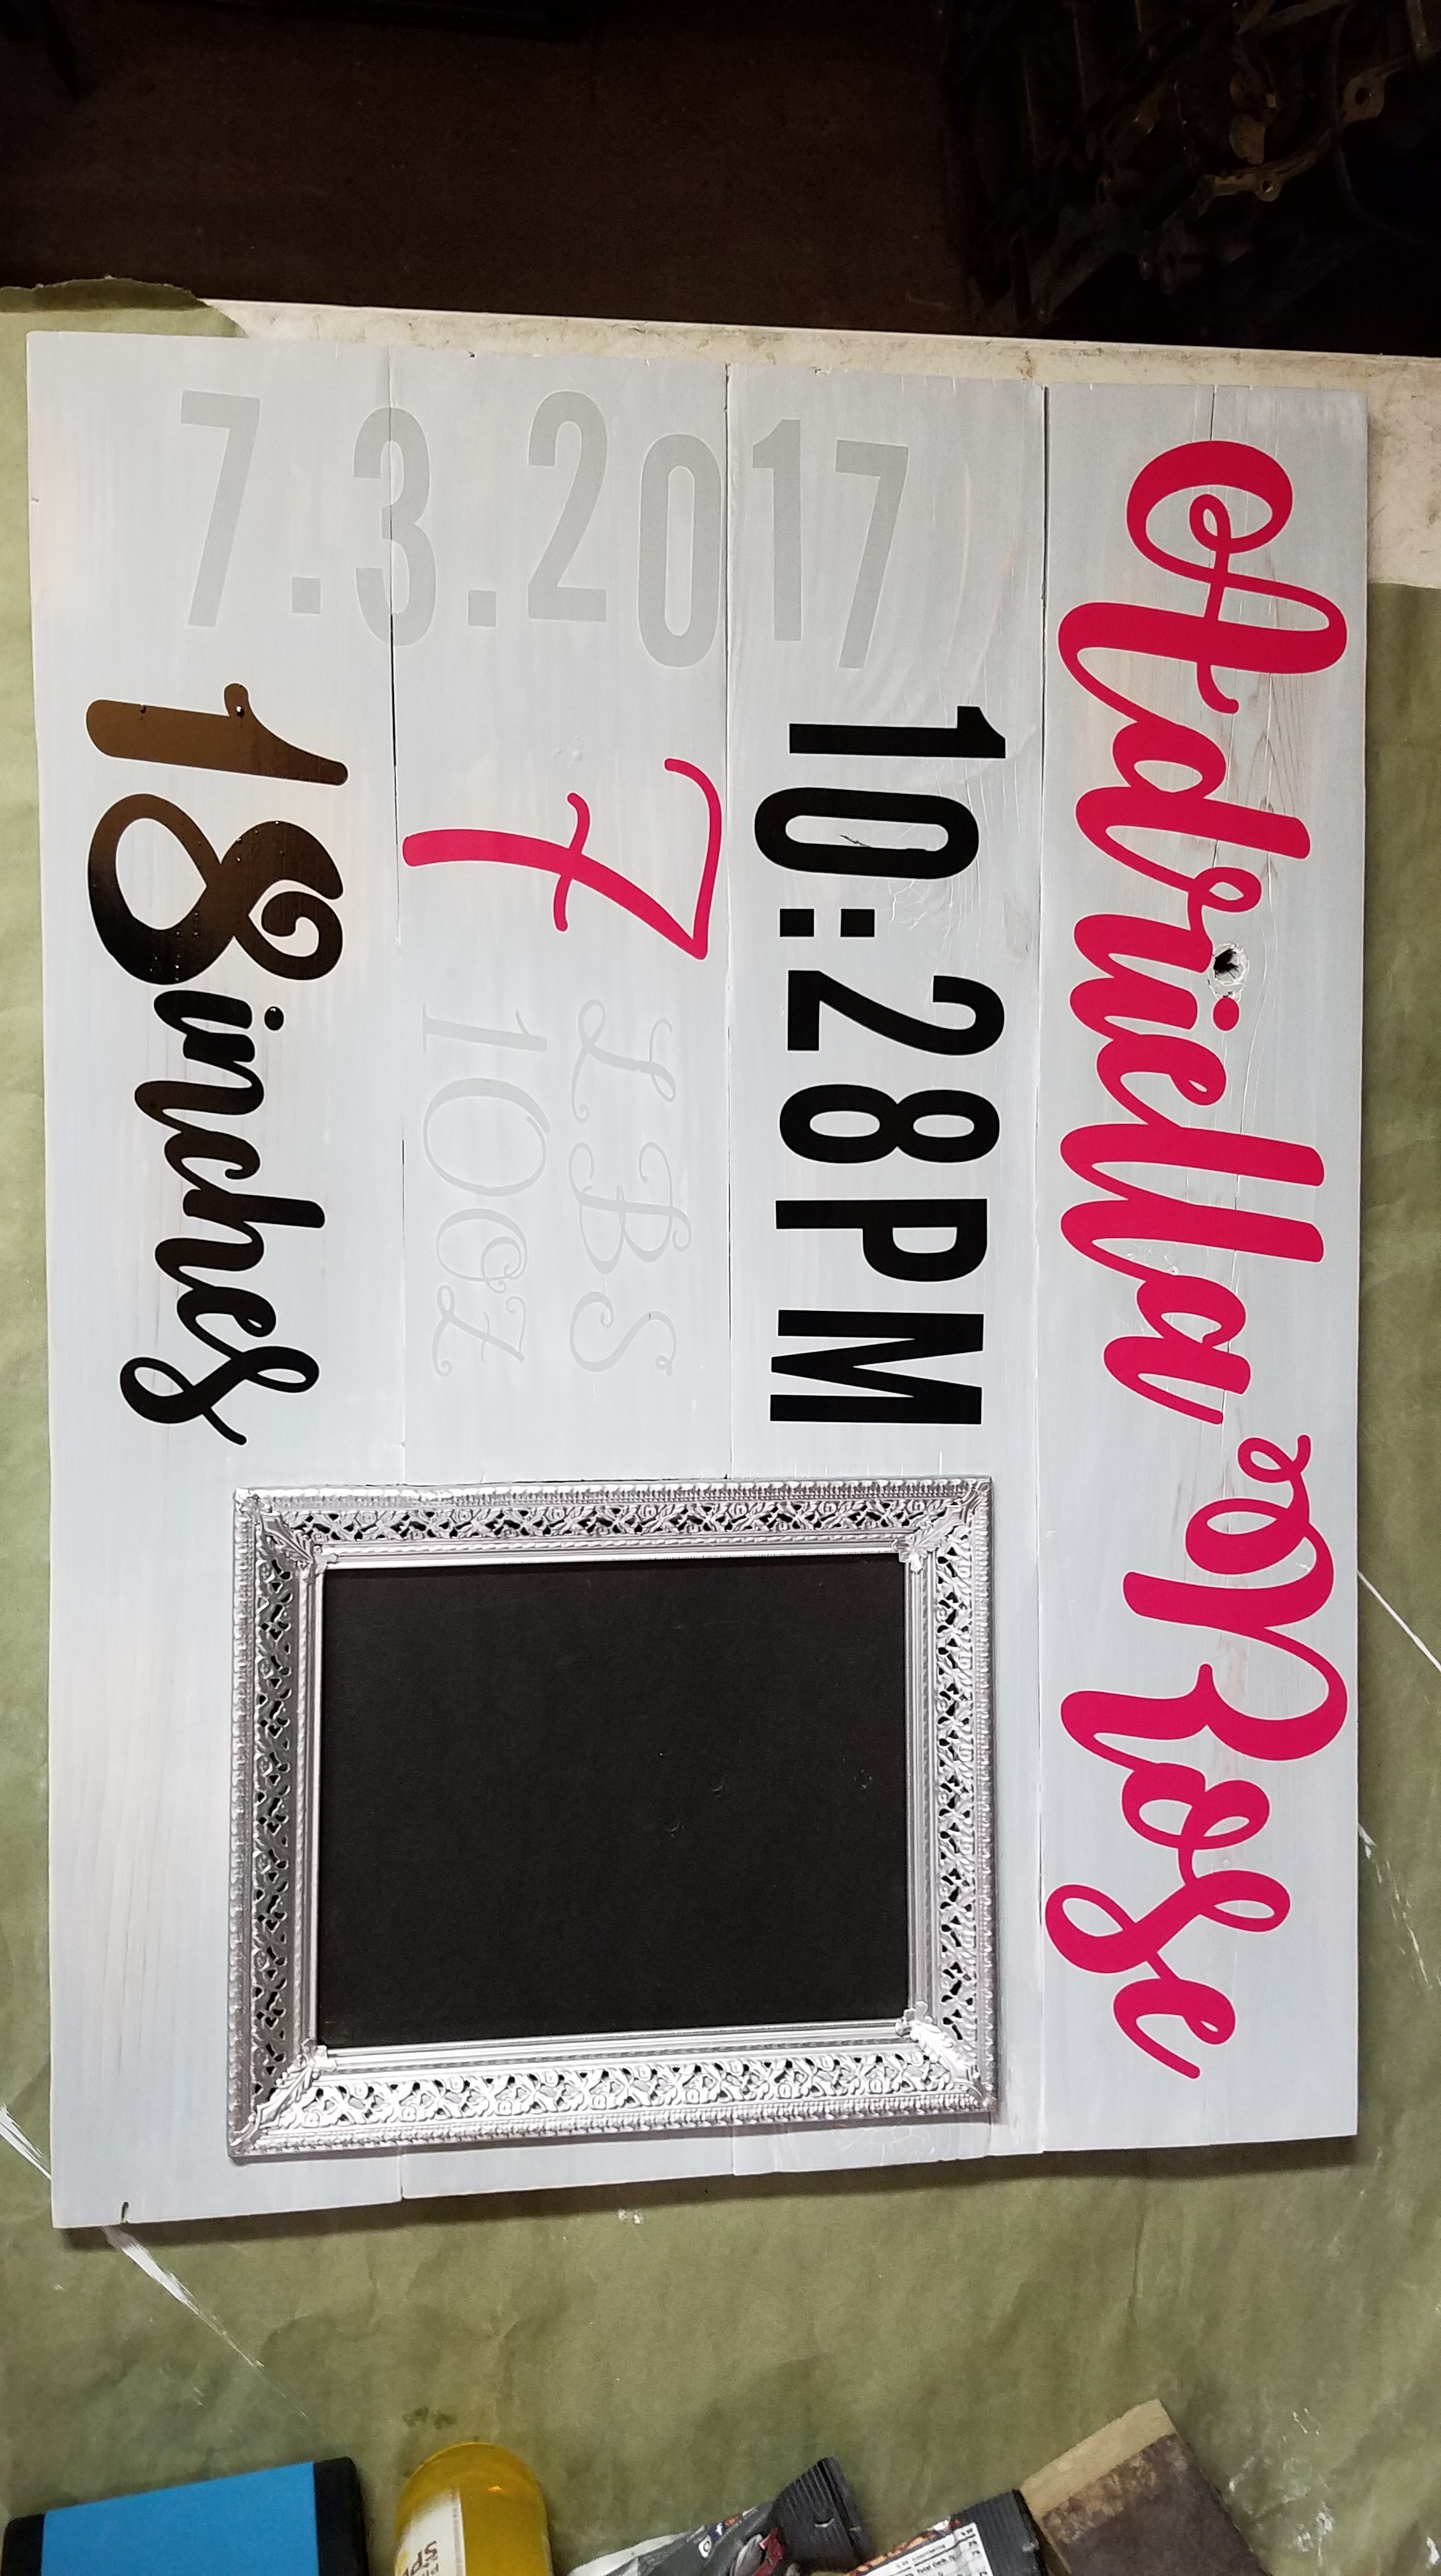
Now that our frame is mounted, it is time to lay out the graphics. I have a Cricut machine at home that allows me to cut out vinyl from my computer so, that is what we will be using as stencils for the numbers and words. Some will be painted over and peeled off later and some will be the top layer – again you will have to decide on some other details. I chose 3 different fonts here and will be using 3 different colors (one being the color of the painted wood base.) As you can see, once we laid the graphics out, the size of the frame was way too big so it got trimmed down and the edges sanded one more time.
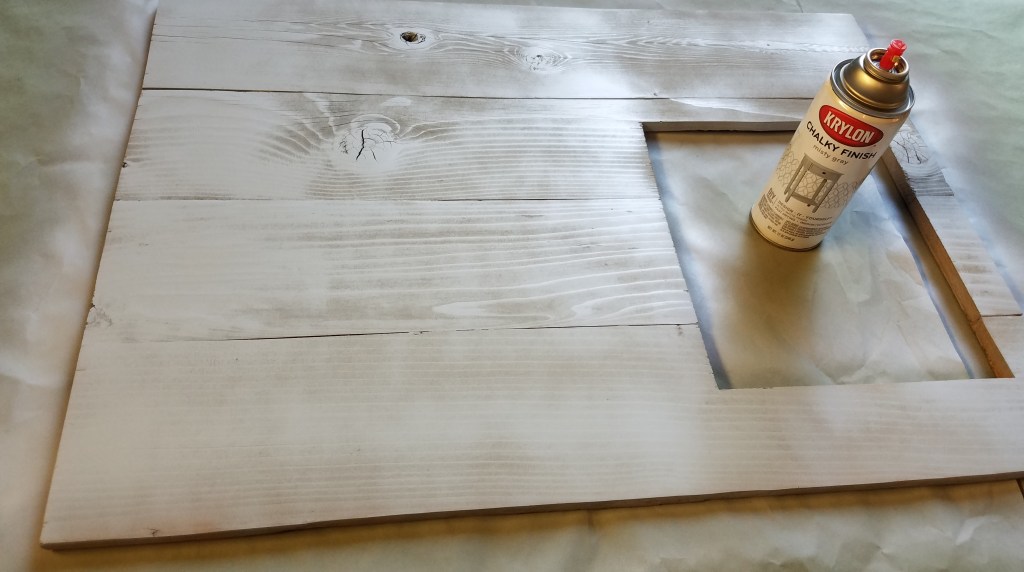
Once we were finished sanding, it was time for clean up.We were able to use the air hose to blow off and then a ShopVac to clean up all the dust, also did a wipe down with a tacky rag to make sure there was no sawdust left. We laid out some paper on our table to prep for paint. Went with a simple rattle can of grey with a chalk effect. Since this was the bottom layer, we did several coats and let dry in between. We went with 3 layers to get our desired effect.
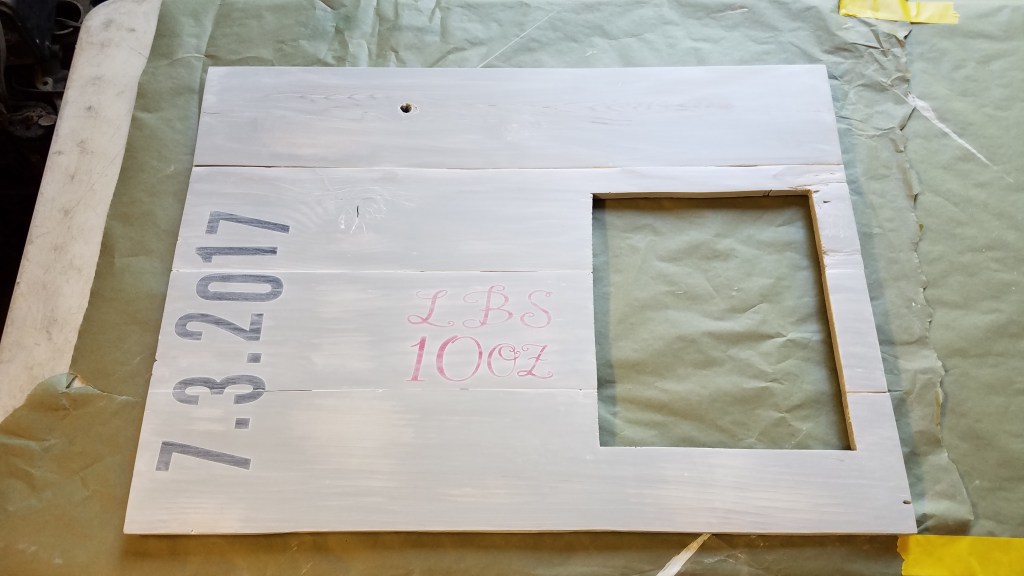
Next was to lay out the graphics that will be staying grey. For this you can see that is our date and part of the weight facts. Once they were laid down and transfer paper removed, we used a piece of ScotchBrite to scuff up the paint a little to show the wood grain through, cleaned/vacuumed again, and then topped with a thin layer of a white paint/stain. We love this product because you can cake it on for a full coverage, or you can leave it sit for a couple minutes and then wipe off with paper towels for a thinner, top coat effect.

You can either leave on the vinyl from the previous step as you keep going, or you can remove it. For me, I was really excited to see the effect the white coat had left behind so I removed the material to get a sneak peek. It almost looks like a lighting or dusting behind the words. So cool! Everything got vaccumed, wiped down, and tacky ragged again from the light sanding to make sure we are clean and ready for the next step.
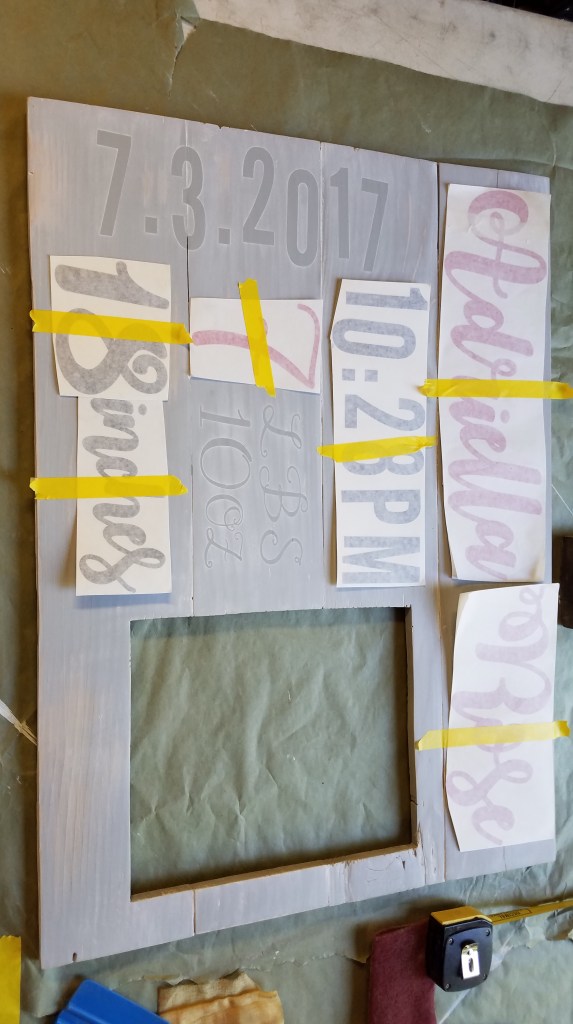
Laying the rest of the details was a pretty simple step, we had already planned and measured where these would be so we could make sure they fit and have a nice variety of font and colors of material. Tried to tie it all together, without having the exact same things right next to each other. I am fortunate to have a pretty eyeball for these things so I laid them out freehand, but having a straight edge and ruler are VERY highly recommended to make sure everything is centered, straight, and aligned. Measure twice, stick once!
A few tips for taping down your vinyl for lay up:
- using painters tape leaves no residue and easy to move around, while holding strong enough to not move your image around
- make sure tape is covering the top and bottom of the image to ensure it’s not going to slide around while you’re moving things
- once things are set and taped, remove just and inch or two of the backing and lay down using your hand or a flat edge like a plastic spreader or credit card; once that bit is secure, you can pull up the rest of the image to remove the remaining backing, and then holding the far end up, slowly lay down the rest of image as you did with the first section.
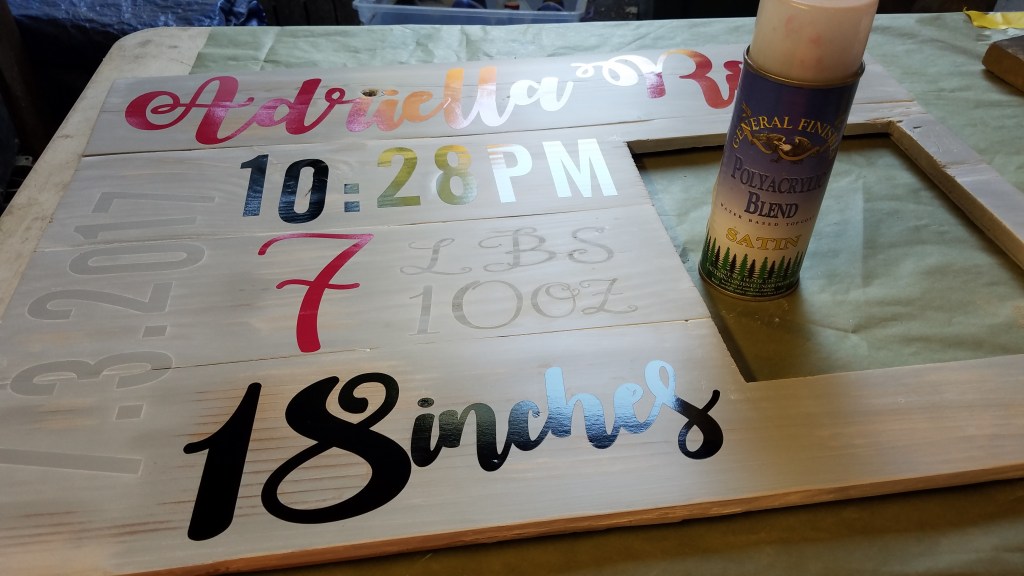
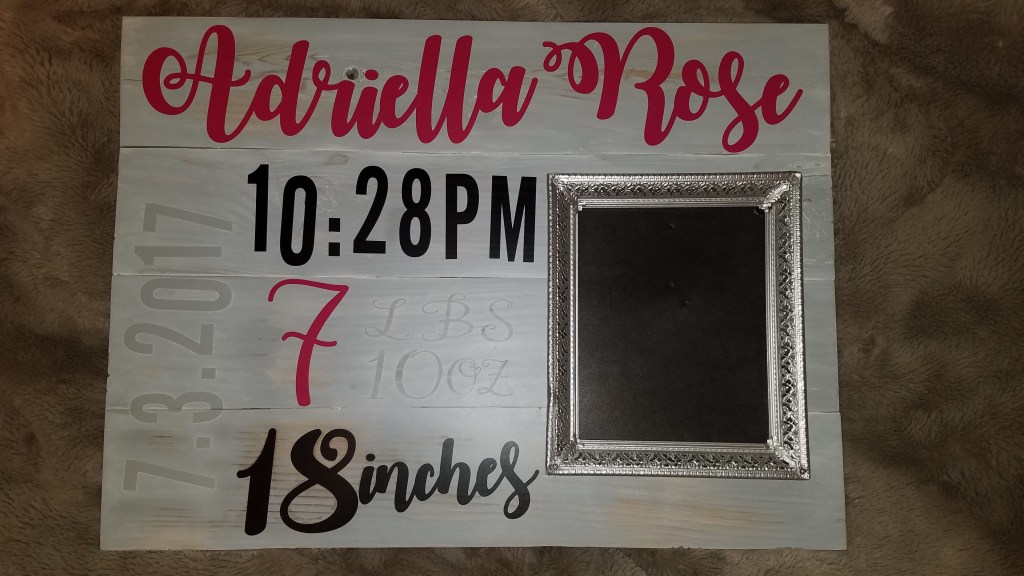
The Black and Pink vinyl will be staying permanently so once we have removed the transfer paper, we are ready for a clear coat! I’m all about the re purposing or using what you already have – luckily we had almost a full case of this Polyacrylic Blend with a Satin finish and it worked great! It sprayed on a little chunky and left me a bit concerned, but smoothed out as it dried and left it with a really nice top coat that didn’t have major reflections off the light in the room! We made sure to rotate around the sign as we sprayed, to make sure and coat all edges, and did a second coat of Clear on top once it dried. Leaving proper time for drying between coats and before handling is crucial! The materials can soften and we want to give them plenty of time to cure.
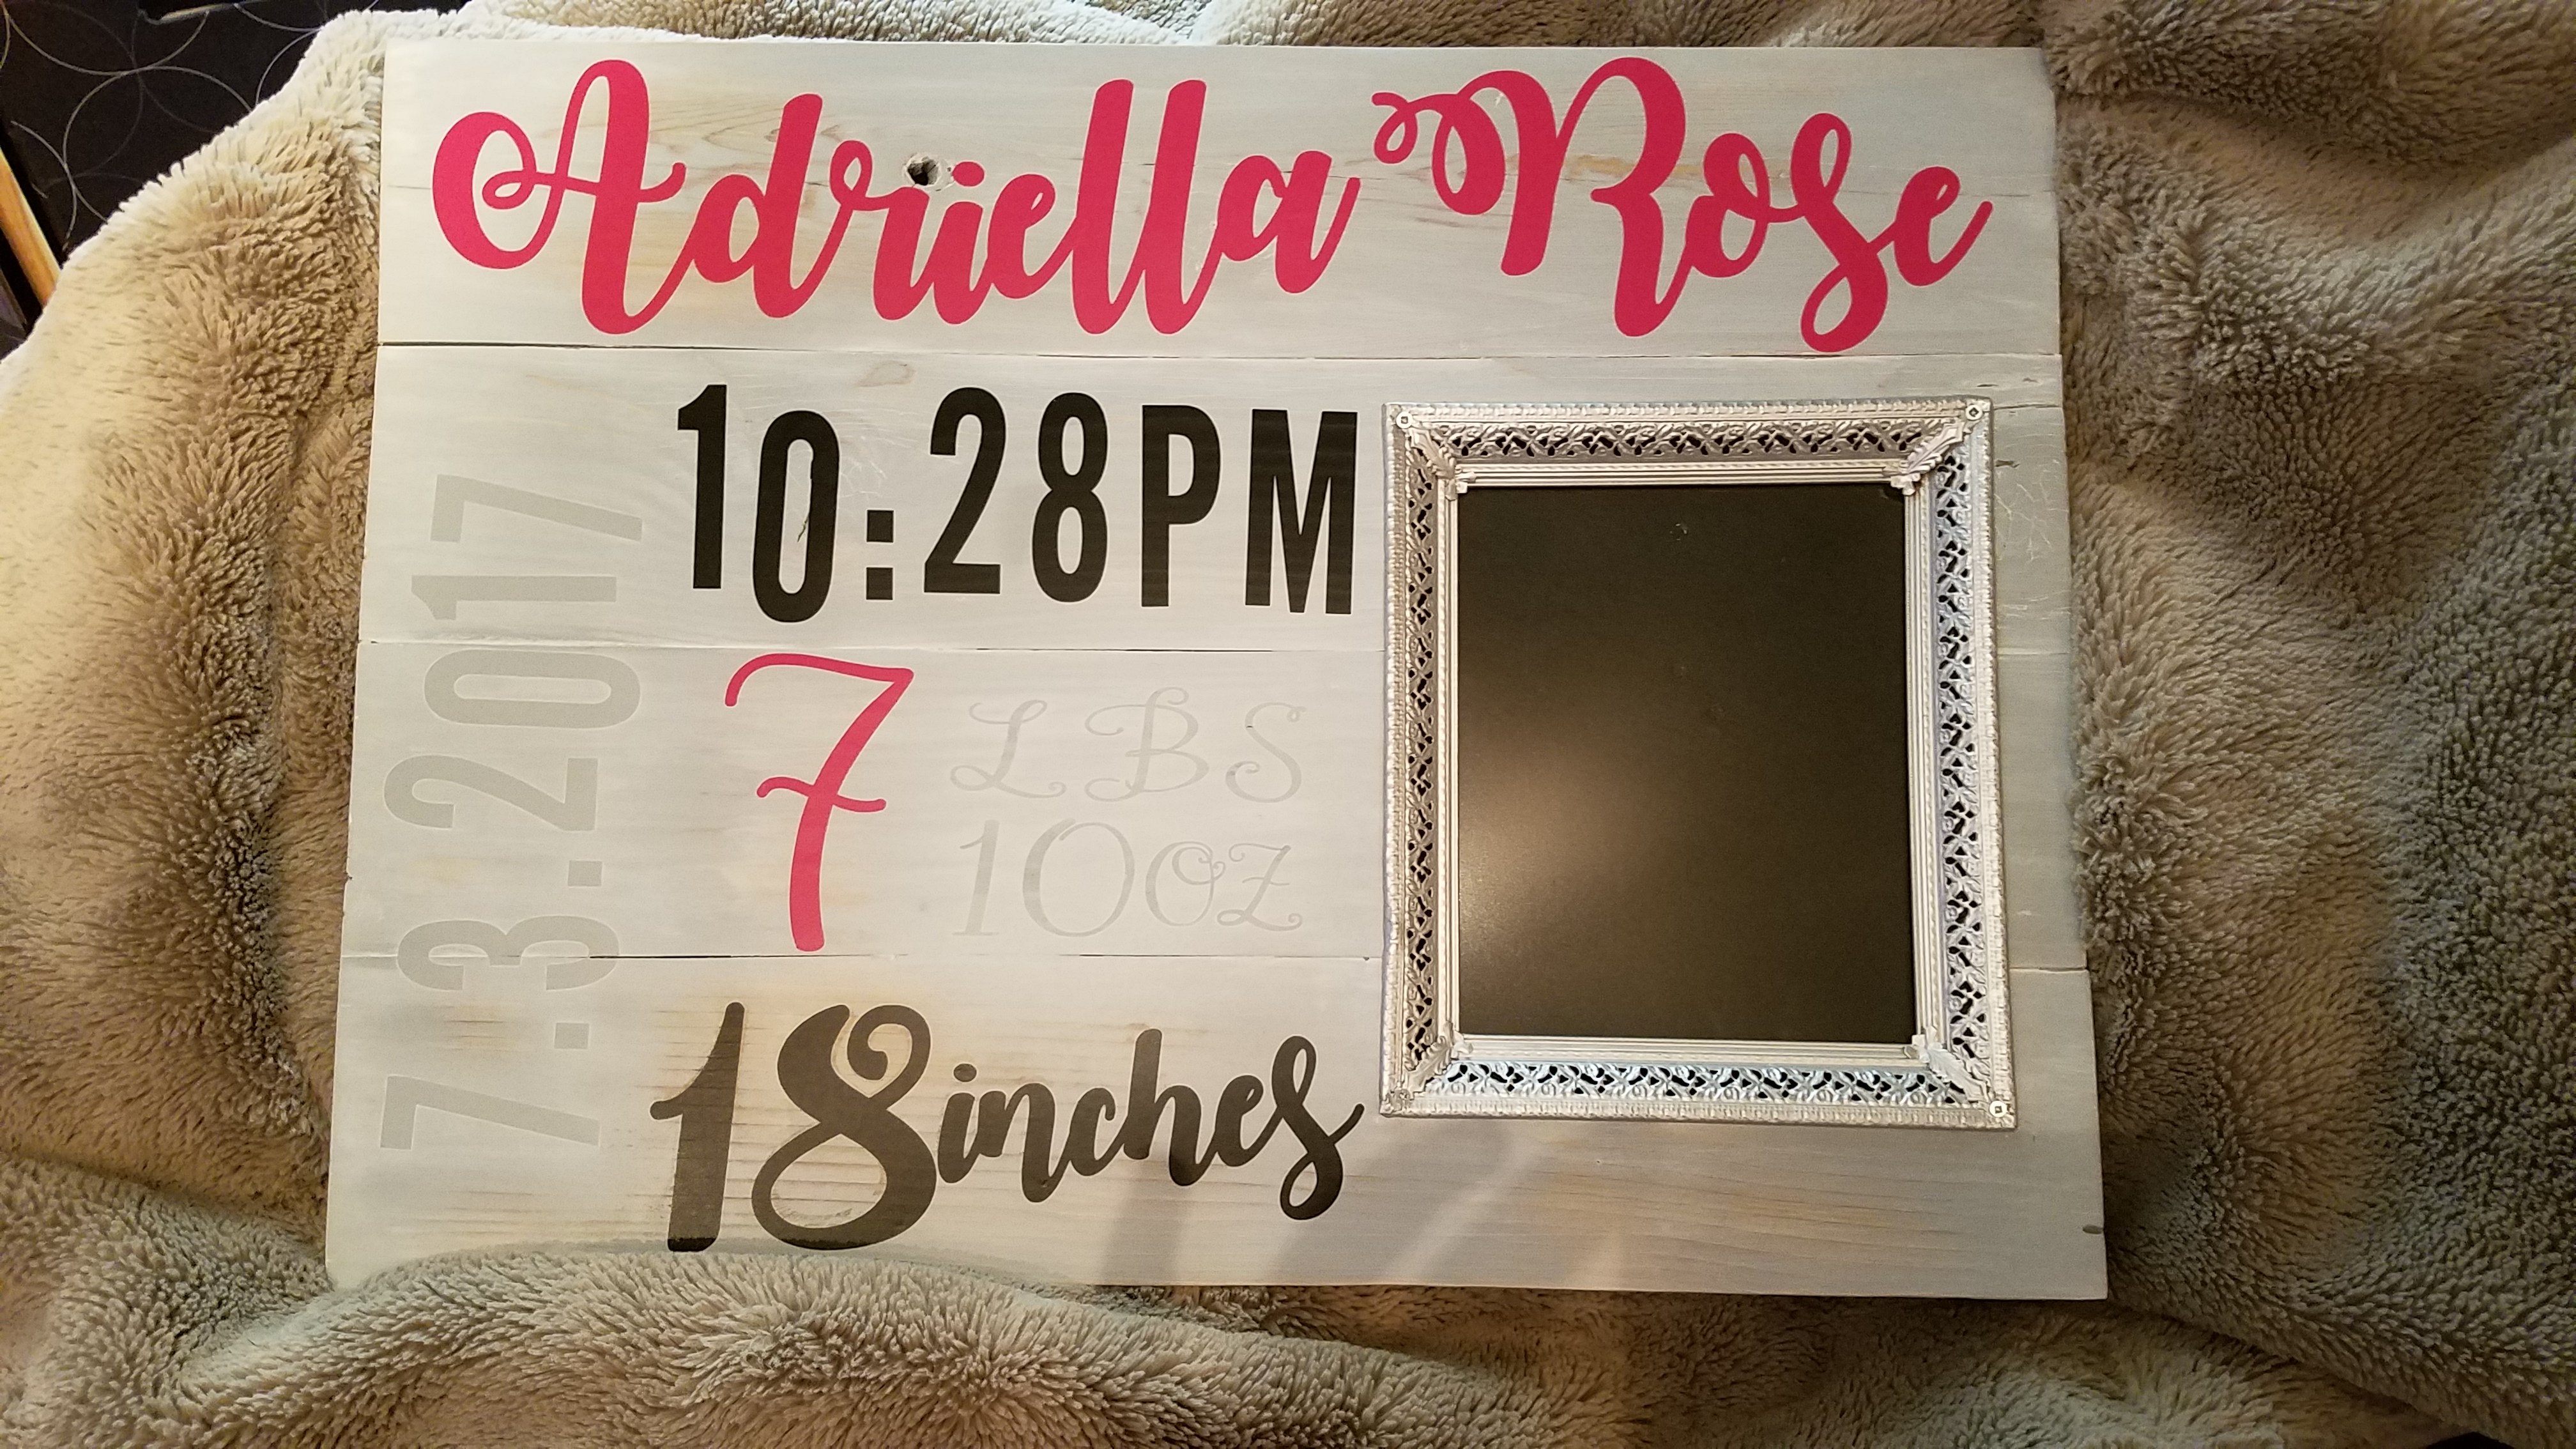
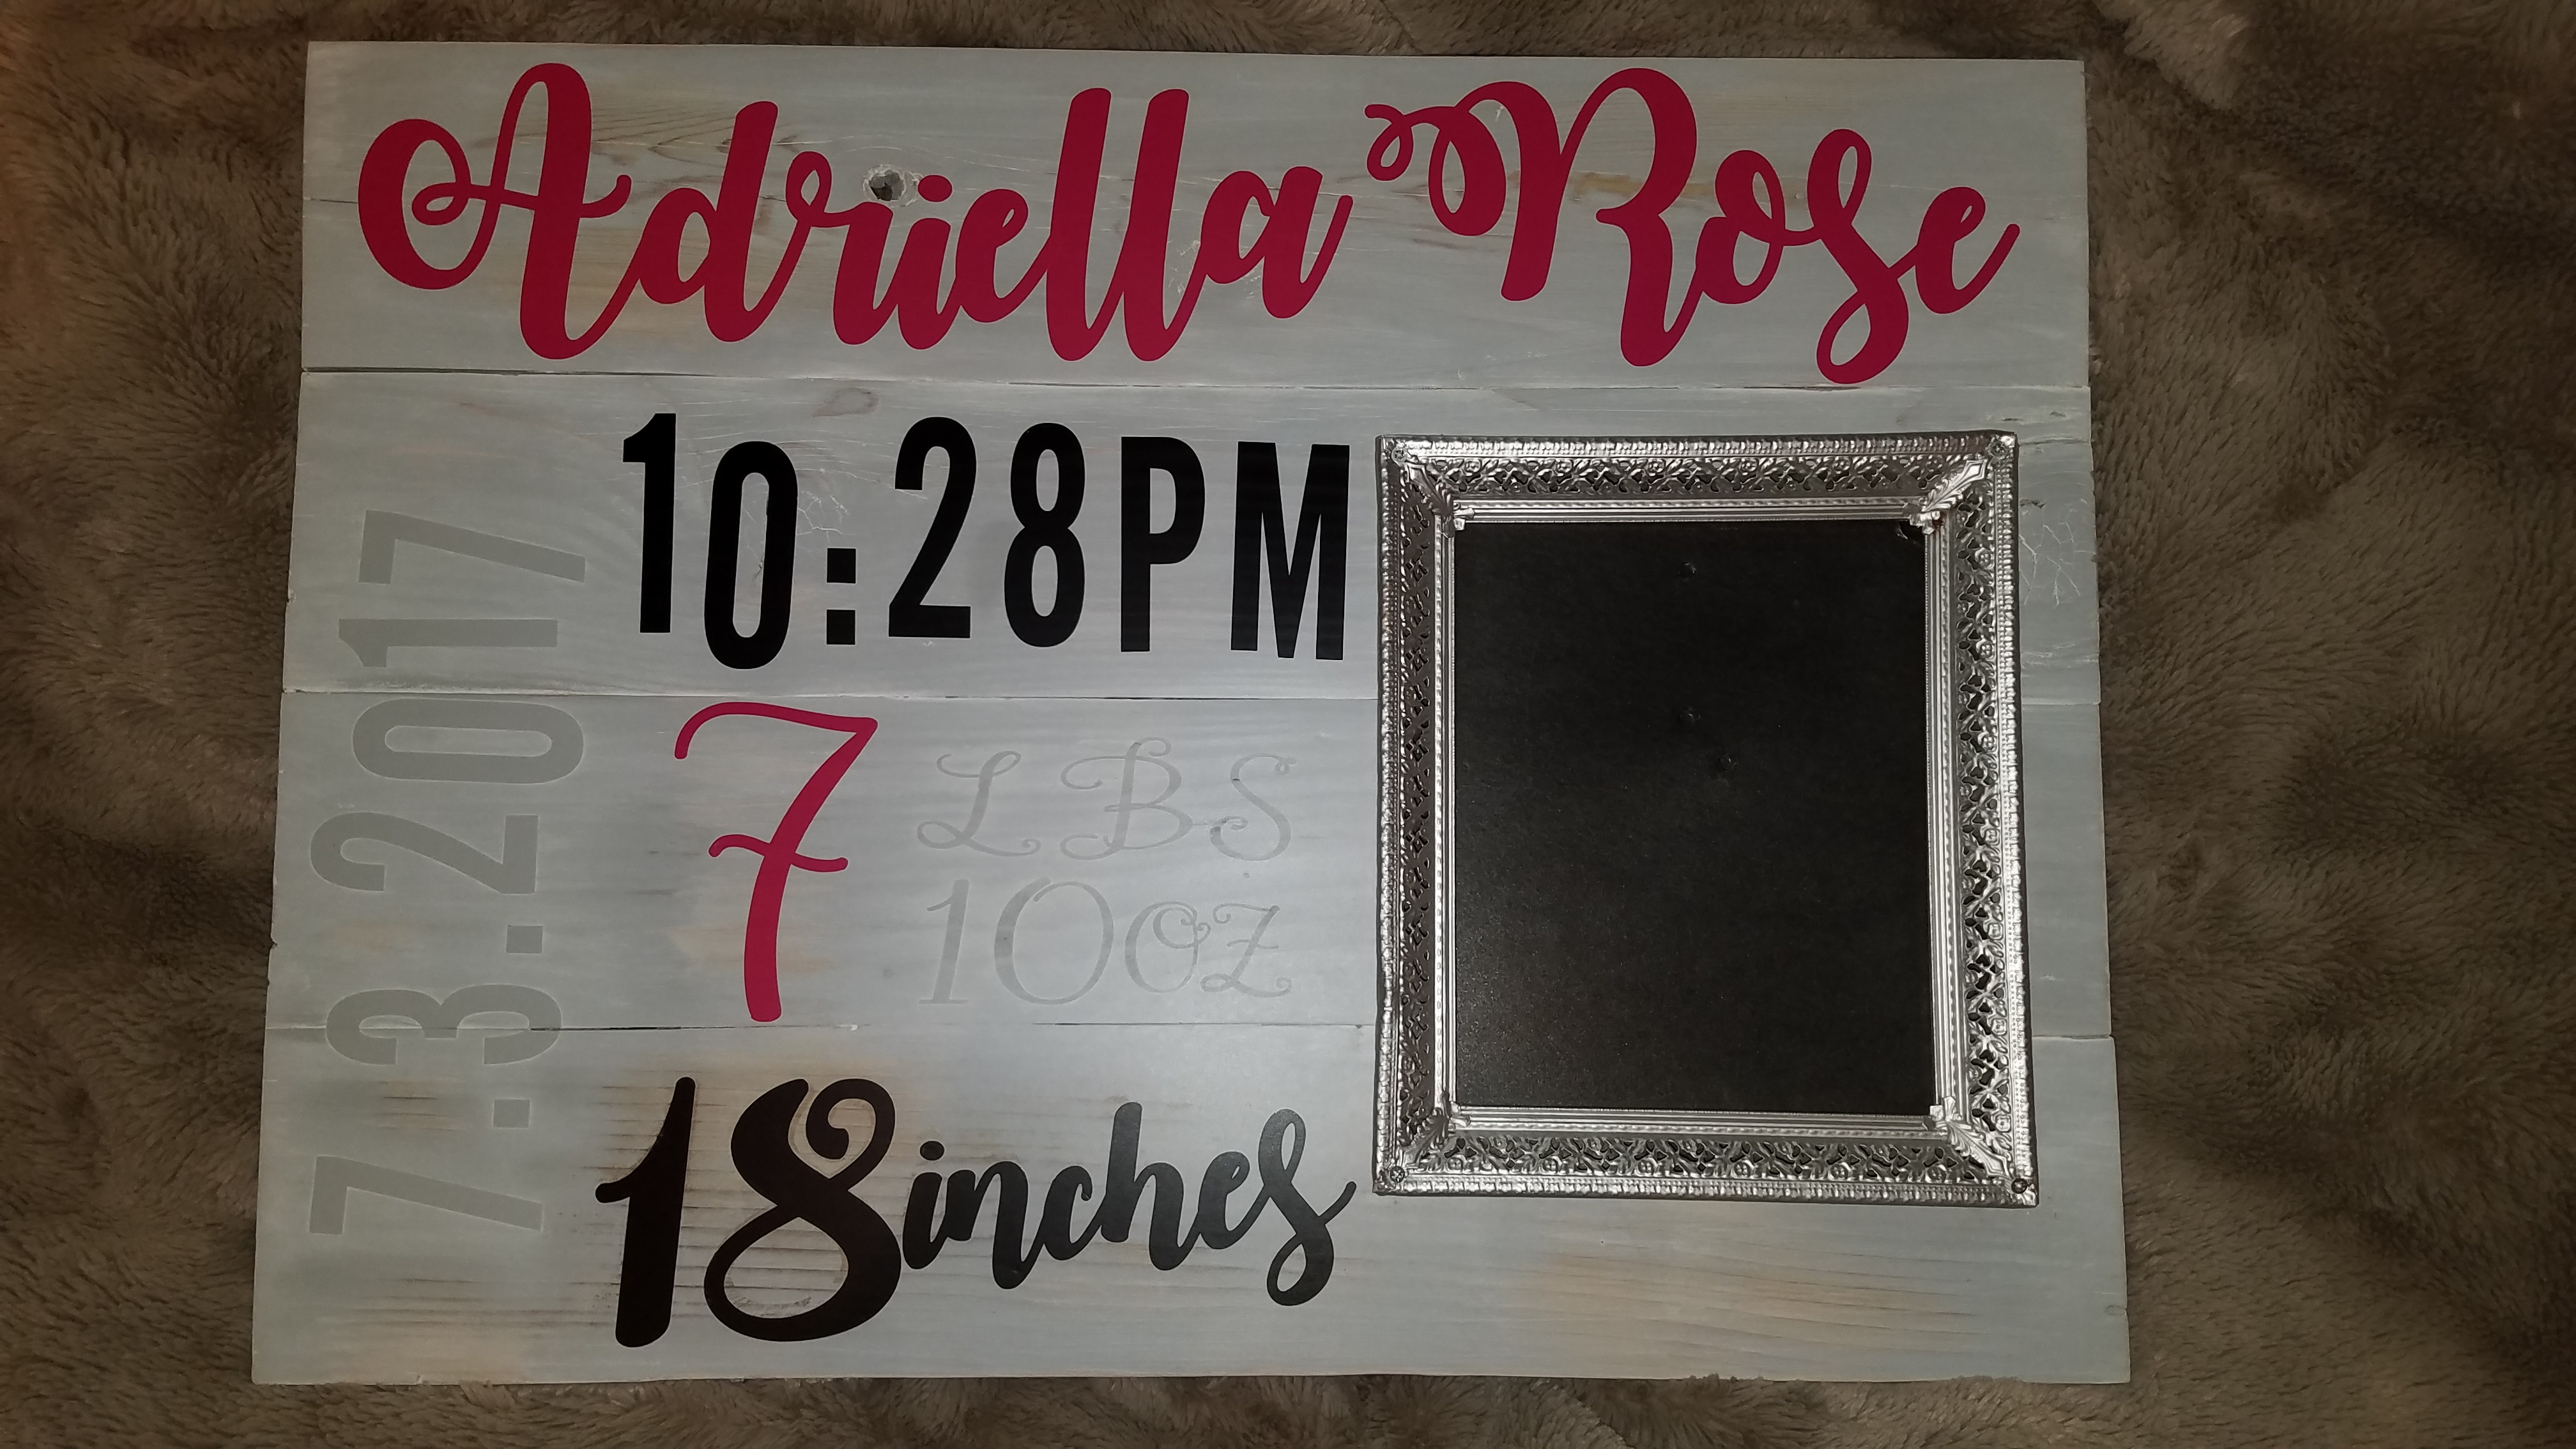
We were so thrilled with the final results! We could have order something like this online, but it was so much fun to create and love the individual character. With so many different colors, fonts, and themes; the possibilities are endless! We have seen recreated this sign design and did some trial and error with other, quicker designs, but this one has proven to be the most durable and worth the time and effort!
